Apple Maps is a handy tool for businesses boosting local SEO and connecting with nearby customers. With so many people using it, Apple Maps increases online visibility, making it easier for locals to find what you offer. Apple Maps provides essential exposure for businesses focused on reaching local audiences, working similarly to Google Maps.
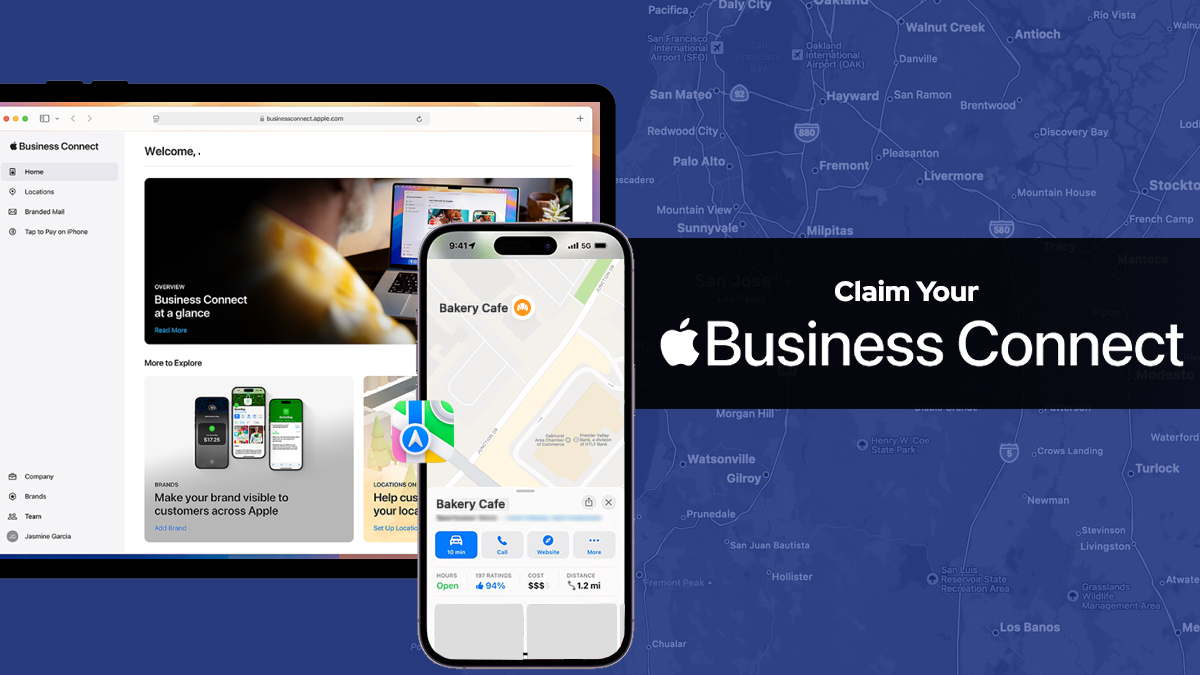
Claim your Apple Business Connect to leveraging this platform fully. With Apple Business Connect, you can manage critical details like hours, contact info, and address, ensuring that customers see accurate information. This control not only builds trust but also boosts the chances of customer engagement.
Apple Maps also supports customer interaction with features like directions, reviews, and photos, giving potential customers a clear idea of what to expect. By keeping this information up-to-date, businesses can strengthen user trust and encourage in-person visits. This accuracy can positively impact local SEO, often leading to better rankings.
If you’re new to Apple Maps, don’t worry—this guide will walk you through the process of adding your business. With easy, step-by-step instructions, even beginners can easily claim their business. By optimizing your profile, you’ll boost your visibility and connect with a larger audience, especially iPhone users who turn to Apple Maps for local searches.
Once listed, Apple Business Connect also provides analytics that offer insights into customer behavior and engagement. This data reveals customer preferences and search habits trends, helping businesses adjust their local marketing strategies. By tapping into these insights, companies can better serve their audience and drive more foot traffic and engagement.
Steps to Claim Your Apple Business Connect
To add your business to Apple Maps, follow a straightforward process like registering on Google Maps. It only takes a few simple steps. Alternatively, your local SEO service provider can do it for you.
Create An Apple Account And Sign In
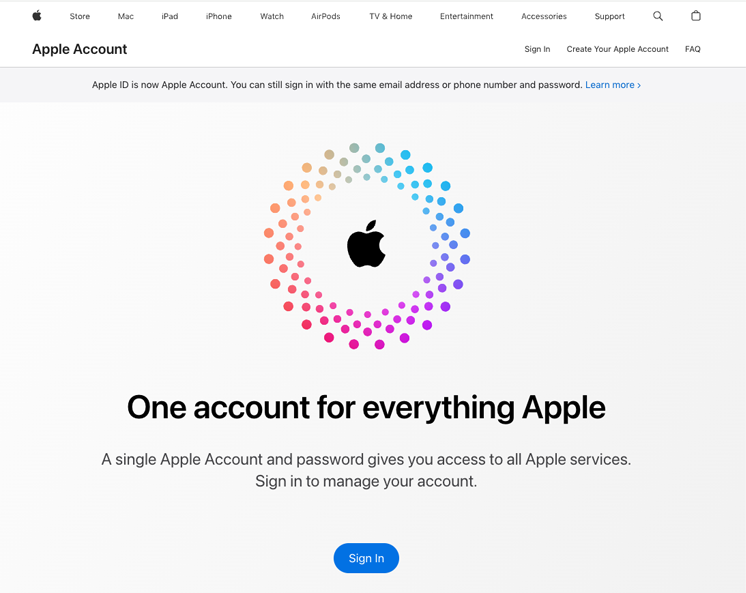
To sign up for Apple Maps, you’ll need an Apple ID. This ID gives you access to all Apple services like Maps, iCloud, and the App Store. With an Apple ID, you can sync your data across devices, access your bought apps, and enjoy other Apple services.
Creating an Apple ID is simple. Just head to Apple’s sign-in page or open the App Store to begin the process. It’s quick and easy, with clear steps to guide you through.

- Your name: Entering your full name helps personalize your account and ensures that your information is accurately linked to your Apple ID. It’s also used to identify you across Apple services.
- An email address: This email will act as your Apple ID and is essential for account recovery, receiving notifications, and managing your Apple services. Make sure it’s an active, accessible email account.
- A strong password: Choose a secure password with a mix of letters, numbers, and special characters. A strong password helps protect your account from unauthorized access and keeps your personal information safe.
- Security questions with memorable answers: Select questions that are easy for you to remember but hard for others to guess. These questions are vital for account recovery if you forget your password or need extra security.
Once you’ve set up your Apple ID, everything will just fall into place. You’ll have smooth access to all Apple devices and services, making your time with Apple Maps and other features way more convenient and tailored to you.
Visit Apple Business Connect
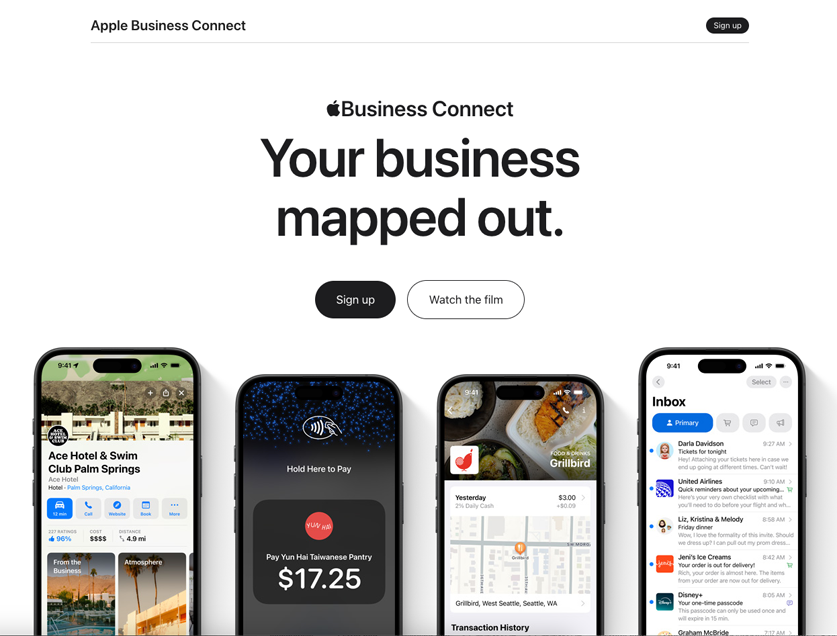
To register your business with Apple Maps, visit Apple Business Connect, a free service designed to help businesses manage their presence on Apple platforms. The process is similar to creating a Google Business Profile, offering an easy way to display important business information across Apple’s ecosystem.
Once on the Apple Business Connect site, log in with your Apple ID. If you don’t have one, you must create it first. The login process will direct you to set up your business profile, which includes adding your business details and selecting categories that best describe your offerings.

After logging in, review and accept the terms and conditions. This step grants you access to the dashboard to manage business information such as your address, contact number, and operating hours. Updating your profile ensures accurate visibility on Apple Maps, enhancing local search results.
Choose Your Business Type
To create an Apple Business Connect profile or map listing, provide accurate details to help categorize your business correctly. This ensures that your company appears in relevant searches, making it easier for potential customers to find you. Proper categorization increases visibility and boosts engagement with your target audience.
Begin by selecting the business type that best matches your services. Apple offers a variety of categories, such as health and wellness, shopping, and entertainment. Picking the right primary category is important as it aligns your business with users searching for those specific services. Accuracy here enhances your listing’s relevance.
If your business offers multiple services, adding secondary categories is recommended. This helps cover all aspects of your business, ensuring that you appear in various search results. Secondary categories broaden your reach, especially for businesses with diverse services, like a spa offering wellness products.
Finally, complete your profile by adding your website URL, logo, business hours, and contact details. These elements make your listing more informative and engaging. Once all required information is provided, finalize the registration, and your business will be visible to potential customers on Apple Maps, ready for interaction.
Also Read: What is Apple Search Engine Optimization (SEO): All You Need To Know
If It’s Already There, Claim Your Listing
If your business already shows up on Apple Maps, claiming and optimizing it can make it easier for customers to locate you. By claiming the listing, you gain full control over your business information—like address, hours, and contact details—which can significantly enhance customer trust and boost visibility, ultimately supporting better local SEO performance and reach.
Here’s a quick guide:
- Search for Your Business on Apple Maps: Open Apple Maps and enter your business name in the search bar to locate your listing. Carefully confirm it’s the correct entry to prevent issues with duplicates or outdated details, ensuring customers find accurate information when searching for your business.
- Select “Claim This Place” on the Existing Listing: After finding your business, select the “Claim This Place” option on the listing. This step prompts Apple Maps to initiate the verification process, allowing you to take ownership of the listing and manage your business’s information directly.
- Complete the Verification Process: Apple Maps requires proof of business ownership through a quick verification method, usually a phone call, SMS, or document submission. Following these prompts allows you to verify your ownership smoothly and ensures that only authorized users can access the listing.
- Review and Update Business Details: Once verified, review and update crucial business details like address, hours, and contact information. Apple Maps offers editing options to keep your listing accurate, like Google Maps, ensuring customers access reliable information, boosting your local SEO presence.
If It’s Not There, Click Add New Place
If your Apple Maps business registration isn’t active, you can still add new locations by selecting the option from your dashboard. This convenient feature allows business owners to expand their presence on Apple Maps, even if they haven’t completed the full registration process yet.
You’ll be required to provide the following details:
- Business name: Make sure your business name matches the official name used in all legal or branding materials to ensure consistency and avoid confusion for customers searching for your business.
- Location: Enter your business’s exact address or GPS coordinates, as accuracy is crucial for ensuring customers can easily find and navigate to your location on Apple Maps.
- Contact information: Provide a valid phone number or email address so potential customers can easily contact you for inquiries, support, or bookings, helping to establish communication and trust.
- Business category: Choose the most appropriate business category (e.g., restaurant, retail, service) to help Apple Maps correctly categorize your business, ensuring it appears in relevant search results.
- Business hours: Clearly list your opening and closing hours to ensure customers know when your business is available, reducing frustration and enhancing the customer experience.
Additionally, you’ll need to complete a verification process to confirm business ownership. This may take a few days, as Apple conducts a thorough review to ensure all details are accurate and comply with their guidelines.
During the verification process, Apple might request additional information or documents. This step is essential for maintaining the integrity of the information provided on Apple Maps, ensuring that only authorized listings are visible. Once verified, your business location will be available on Apple Maps, improving its discoverability.
Set Your Location Pin
Once you add or claim your business, you can position it on Apple Maps using a location pin. You have two options:
- Enter your address and confirm the automatic placement: This is the quickest method where Apple Maps automatically places your business based on your input address. Make sure to double-check the location as it might not always be perfectly accurate.
- Manually place the pin: If the automatic placement is inaccurate, you can manually adjust the pin’s location on the map. Simply drag the pin to the correct spot, ensuring your business is marked precisely.
The easiest way to position your business on Apple Maps is by entering your address. Once you input the details, zoom in on the map to ensure the location pin is accurate. This method lets you quickly verify if the placement is correct, reducing the chances of customers getting lost while searching for your business.
If the pin placement is incorrect, adjust it manually to ensure customers can easily find your business. Correct placement is crucial as it directly impacts local search visibility. Accurate mapping makes your business easier to locate, leading to more foot traffic and higher engagement from potential customers.
Fill In Your Business Info
Getting listed on Apple Maps is essential, but managing your listing plays a significant role in local SEO. Beyond the basic details like your website and business type, make sure to add:
- A clear business description: Write a short, impactful description highlighting what makes your business unique. Use keywords relevant to your products or services to boost local SEO and make it easy for customers to understand your offer.
- High-quality photos and videos: Upload clear, high-resolution images and videos that reflect your business’s atmosphere, products, and services. Well-lit and professional visuals create a positive first impression and attract potential customers browsing Apple Maps.
- Information about amenities (Wi-Fi, parking, etc.): Include practical details about your business’s amenities, like free Wi-Fi, parking availability, or wheelchair accessibility. This helps customers determine if your location meets their needs and encourages them to visit.
- Additional contact details: Make it easy for customers to contact you by providing your phone number, email, social media links, and business hours. This ensures customers can reach you through their preferred communication channels.
When writing descriptions, incorporate relevant keywords to improve local SEO results. This helps Apple Maps understand what your business offers, boosting your visibility to relevant users. Follow the best practices for optimizing your Google Business Profile to enhance your Apple Maps listing.
Just like with Google, ensuring accuracy and consistency in your information across all platforms can further strengthen your local search presence. Respond to reviews and keep your listing up-to-date to maintain a positive reputation and foster customer trust.
Why It’s Important To Add Your Business To Apple Maps
Registering for Apple Maps is straightforward and ensures that customers can easily find your business when searching locally. Additionally, it offers several advantages that can help improve your business’s visibility and customer interaction:
- Access to Apple Device Users: Apple Maps is the default map service on iPhones, which holds a market share of over 53% in the US. This directly exposes your business to millions of iPhone users, expanding your reach significantly. Since many users rely on Apple Maps for navigation, this can increase foot traffic and online interactions with your business.
- Enhanced Customer Engagement: Apple Business Connect lets you interact with customers through reviews, photos, business hours, and other features. This level of engagement helps you build a trustworthy brand image and lets customers easily contact you. Having a profile on Apple Maps also strengthens your local SEO, making your business more visible when people search for relevant services nearby.
- Valuable Analytics: Apple Maps provides insights into how often your business is viewed, how customers find you, and what actions they take. This data helps you improve your marketing strategy, connect with customers more and increase conversions. By understanding customer behavior, you can make smarter decisions to boost your business’s presence and performance on the platform.
Conclusion
Getting your business listed on Apple Maps through Apple Business Connect is a great way to boost your local visibility. By claiming and optimizing your profile, you make it easy for potential customers to find your location and contact info. With millions of users relying on Apple Maps for navigation, this is a fantastic opportunity to attract more attention and drive foot traffic.
Apple Business Connect lets you share key details like your business hours, address, phone number, and website. You can also add photos of your products, services, or storefront to make your profile more appealing. These features help customers learn more about your business and make informed decisions, boosting your credibility and encouraging visits.
By keeping your Apple Maps profile up to date, you stay relevant and competitive in your local market. Regular updates ensure customers get accurate info and increase the chances of your business appearing in local searches. Optimizing your presence on Apple Maps in today’s digital world can help your business stand out.
FAQs
Is listing my business on Apple Maps through Apple Business Connect free?
Yes, Apple Business Connect is completely free for businesses to use. Listing your business on Apple Maps doesn’t require any payment, making it a cost-effective way to increase your visibility. By claiming and managing your business on the platform, you can ensure that customers have accurate, up-to-date information without any financial investment, helping you reach more people searching for businesses like yours on Apple Maps.
Can I update my business information on Apple Maps anytime?
Once you claim your business on Apple Business Connect, you can update your information as often as necessary. This includes updating your business hours, phone number, services, and even adding photos or changing the business description. Regularly reviewing and updating your business listing helps keep your information current and relevant, ensuring potential customers can always find accurate details. This flexibility lets you make real-time adjustments as your business changes or during special events.
How do I verify my business ownership on Apple Business Connect?
Verifying your business ownership on Apple Business Connect is essential to gaining control over your listing. The verification process typically involves a phone call or email, where you will receive a code that you’ll need to enter into your Apple Business Connect account. This ensures that only authorized individuals can update business details. Once verified, you can manage your listing, update information, and track analytics for your Apple Maps presence, which helps you control your business’s digital presence.
How do I remove my business listing from Apple Maps if I no longer operate it?
If you need to remove your business listing from Apple Maps because your business is no longer operating, you can do so through Apple Business Connect. Simply log in, visit your business profile, and request to remove the listing. Once processed, Apple will review the request and your business will no longer appear on Apple Maps or other Apple services. This ensures that potential customers won’t be misled by outdated or incorrect information about your business.


